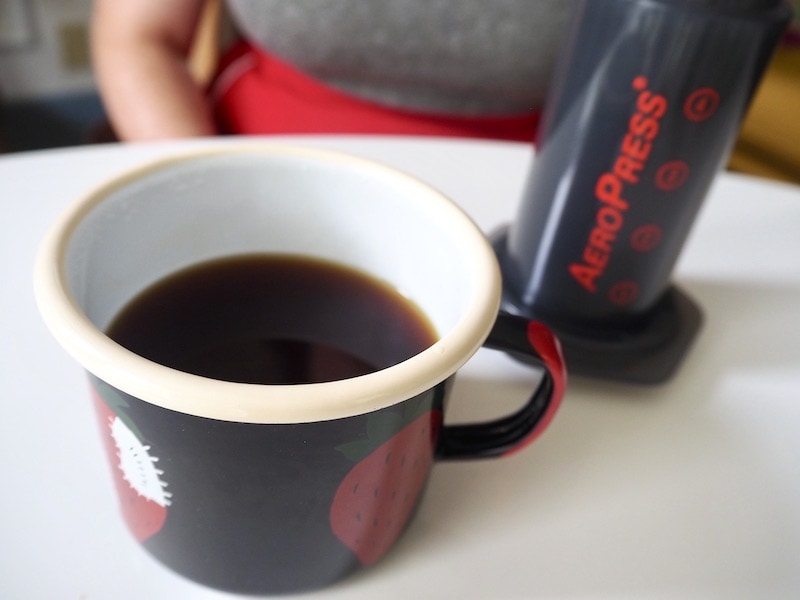
If you own an AeroPress, you’re in for a treat. This small, highly portable coffee maker can quickly brew small cups of delicious, espresso-like coffee. But to get the best coffee, you’ll need to perfect your technique. That’s where we come in!
We’ve put together a step-by-step guide to brewing excellent AeroPress coffee, along with some tips on other brewing methods. Scroll down to start brewing the best possible AeroPress coffee.
What You’ll Need
- Fresh coffee beans
- Filtered water
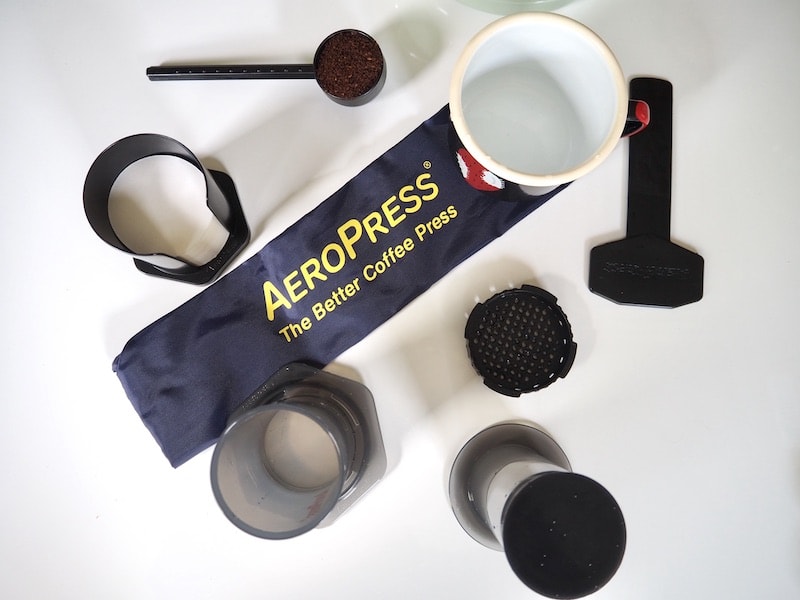
- AeroPress (with filters)
- Timer
- Coffee grinder
- Kettle
- Coffee cup
- Stirring stick
- Digital scale (optional)
AeroPress Instructions
1. Prepare your coffee and water.
Bring about 7 ounces of water to a boil. If your kettle has a temperature gauge, aim for about 200°F. If not, let the water sit for a minute or two after boiling so it can reach the ideal AeroPress water temperature. Use a ratio of 15-16 grams (one rounded scoop) of coffee to 7 ounces of water. Make sure your coffee is ground to a medium-fine consistency.
2. Rinse your filter.
Place the filter in the cap of the AeroPress and carefully pour hot water over it. Discard the rinse water. Then attach the filter cap to the brewing chamber.
3. Set up the brewing chamber and add coffee grounds.
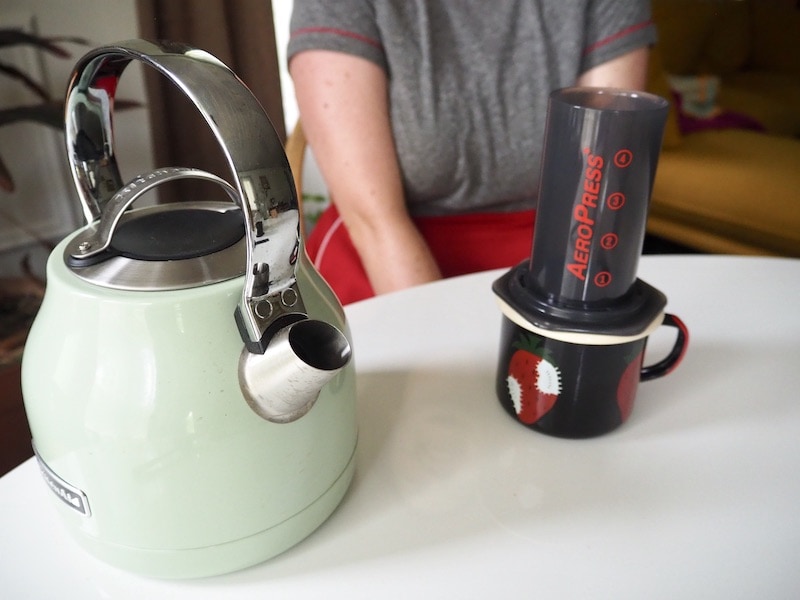
Place the brewing chamber on a cup or other heat-safe container. Add the coffee grounds, being careful not to spill grounds on the seal.
4. Start the timer and add a little water.
Start your timer and pour about an ounce of water in a circular motion over the grounds. Make sure you cover the grounds evenly. Then let the coffee bloom for 30 seconds.
5. Pour in the remaining water.
Pour water to fill the chamber, up to the fourth line. Stir the mixture 10 times and then let the AeroPress sit for two minutes.
6. Attach the plunger and carefully push it down.
Slowly and steadily push the plunger down. Keep in mind that there will be 30 pounds of pressure, so it should take some effort to push. Keep pushing until you hear the hissing sound. At that point, all of the water has come through.
7. Enjoy!
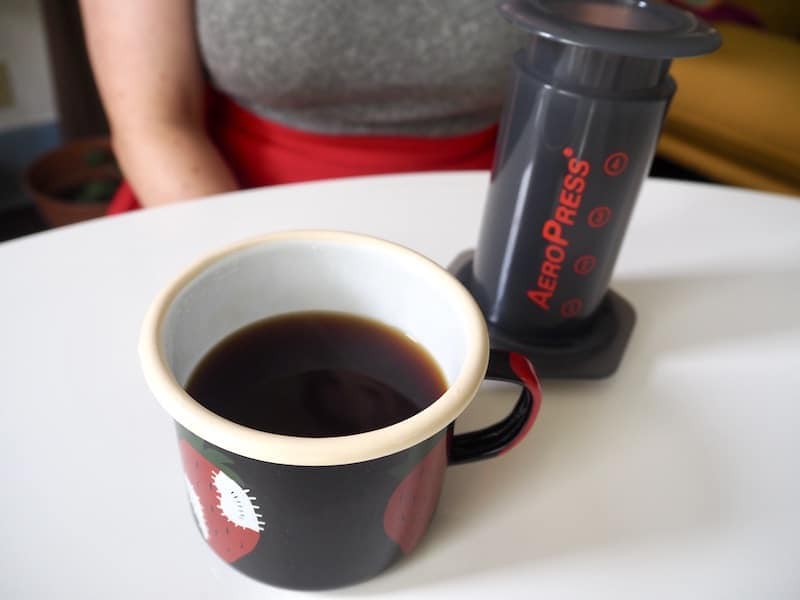
If you want to drink your coffee black, you’re done! You can also add hot water to make an Americano or hot milk for a latte. In the mood for an iced coffee? You can do that too!
Delicious AeroPress Recipe Variations
Now that you’ve mastered the basics of how to brew AeroPress coffee, it’s time to experiment! When you’re using an AeroPress, three important factors will affect your brew quality: coffee, water, and time. Adjusting any of these will result in a slightly different cup of coffee.
Coffee Beans & Grind Size
As you might expect, the coffee beans you use are very important. To adjust the flavor of your brewed coffee, you can vary the roast level and grind size of your beans.
You can use any type of coffee in an AeroPress, though many people stick to dark roasts for their classic espresso flavor. For this guide, we used Lifeboost’s delicious dark roast beans.
What grind is best for the AeroPress? The ideal AeroPress grind size can range from medium to fine, depending on your brew time. Remember the basic coffee grind rule of thumb: the shorter the brew time, the finer the grind.
- SEE ALSO: The Ultimate Coffee Grind Size Chart
Water Temperature
Water temperature can be a big factor, too. AeroPress’s official instructions call for water at 175° Fahrenheit, though many expert brewers prefer hotter water. Try adjusting the water temperature and see what happens!
AeroPress Ratio
As with all coffee brewing methods, the AeroPress ratio of coffee to water is very important. We recommend starting with a ratio of one rounded scoop (15-16 grams) of ground coffee to 7 ounces of water. You can adjust from there, increasing or decreasing the number of coffee beans depending on how your brewed coffee tastes.
AeroPress Brew Time
Here’s one of the most debated subjects: when you’re brewing AeroPress coffee, how long should you steep? The answer to that can range from one to three minutes and depends on how finely ground your coffee is. Why not experiment to find your ideal AeroPress steep time?
Try experimenting with the brew time. If you like your coffee strong and dark, let it sit for three minutes. Too dark? Cut back the brew time until it tastes just right.
Upside Down or Right Side Up?
Another way you can customize your AeroPress brewing method? Change the orientation of the coffee maker itself. The classic brewing method, as laid out in AeroPress’s official instructions, has you put the brew chamber directly on your cup, with the filter cup screwed onto the bottom. You then put on the plunger and push it straight down, brewing the coffee into your cup.
But there’s another way: you can assemble the whole AeroPress, minus the filter cap, and brew the coffee in the upside-down chamber. When the coffee’s ready, you attach the filter cap and quickly flip the AeroPress onto your coffee cup. Then you press the plunger as usual.

The Competition
Once you’ve developed the perfect AeroPress recipe, there is a great way to test it: the World AeroPress Competition! Contests have just a few minutes to prepare a cup of AeroPress coffee. The cups are then served to judges, who do a blind taste test and select the winners. Every year, the winner uses a slightly different recipe — the possibilities are endless!
You can find all of the recipes used by past winners on the WAC website.
Time to Brew
Now it’s your turn: why not experiment with your AeroPress and see what you can come up with? This coffee maker is famous for two big reasons: the high-quality coffee it produces and the unlimited methods you can use. So let your creativity shine!

AeroPress Instructions
Equipment
- AeroPress (with filters)
- Timer
- Kettle
- Coffee cup
- Stirring stick
- Digital scale (optional)
Ingredients
- 15 grams fresh coffee beans
- 7 ounces filtered water
Instructions
- Bring about 7 ounces of water to a boil.
- Place the filter in the cap of the AeroPress and carefully pour hot water over it. Discard the rinse water. Then attach the filter cap to the brewing chamber.
- Set up the brewing chamber and add coffee grounds. Place the brewing chamber on a cup or other heat-safe container. Add the coffee grounds, being careful not to spill grounds on the seal.
- Start your timer and pour about an ounce of water in a circular motion over the grounds. Make sure you cover the grounds evenly. Then let the coffee bloom for 30 seconds.
- Pour water to fill the chamber, up to the fourth line. Stir the mixture 10 times and then let the AeroPress sit for two minutes.
- Attach the plunger and carefully push it down.
Notes
Nutrition
READ ALSO:


