If you’re on a vegan or keto diet, one of the things you probably miss most is creamer in your coffee. Unfortunately, coffee creamer is just about the least keto-friendly addition you can make to your coffee between the heavy cream and sugar, but luckily, we’ve got a creamer recipe that avoids both.
In this article, we’re going to teach you our favorite keto and vegan-friendly creamer recipes. We use coconut cream and stevia to replace traditional heavy cream and sugar so that you can have your creamer and enjoy the benefits of being on a keto diet. It doesn’t take long to make and only requires minimal ingredients and equipment.
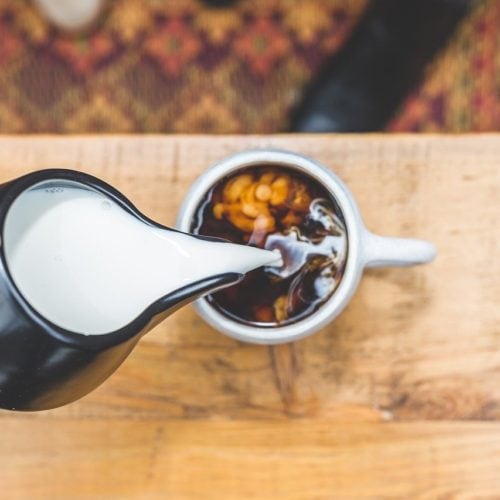
How to Make Coffee Creamer With Stevia
Equipment
- A blender
- A sealable glass jar
Ingredients
- ¾ cup coconut cream solid at room temperature
- ¾ cup room temperature water
- 1 teaspoon vanilla extract
- ¼-½ teaspoons liquid stevia flavored or regular
Instructions
- Put the solid coconut cream, room temperature water, vanilla extract, and liquid stevia in your blender.
- Blend on a low setting at first before slowly ramping up to the highest setting. Stop when the ingredients are well-mixed.
- Pour the creamer into a glass jar and cover it with a lid.
- The creamer will stay in the fridge for up to 2 weeks.
Notes
Nutrition
Stevia Coffee Creamer: Substitutions & Adjustments
There are several substitutions and adjustments you can make to the base recipe to make it more suitable for different uses.
Coconut Milk
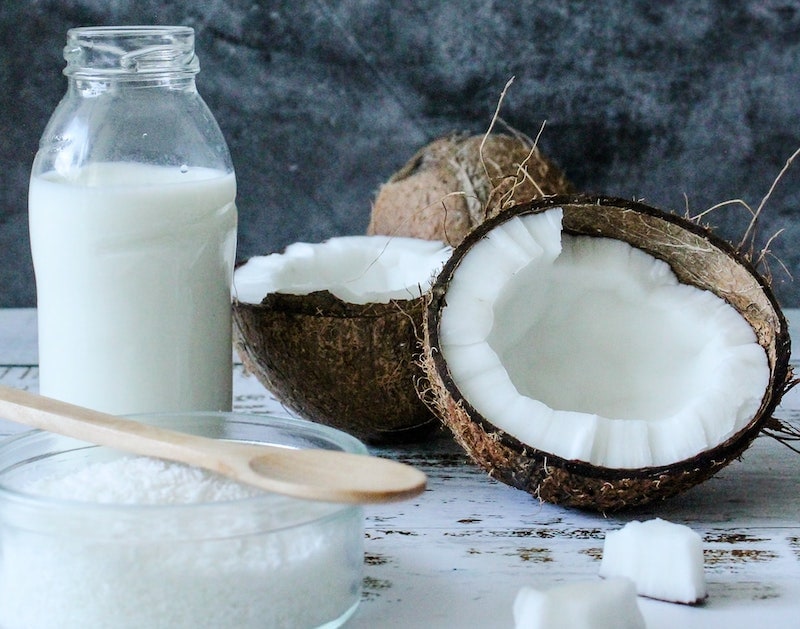
The most common substitution people make is swapping out the solid coconut cream for coconut milk. We like to use full-fat coconut milk to preserve as much of the thickness and creaminess as possible. The substitution ratio is 1-½ cups of coconut milk for each ¾ cup of coconut cream in the original recipe.
Powdered Stevia
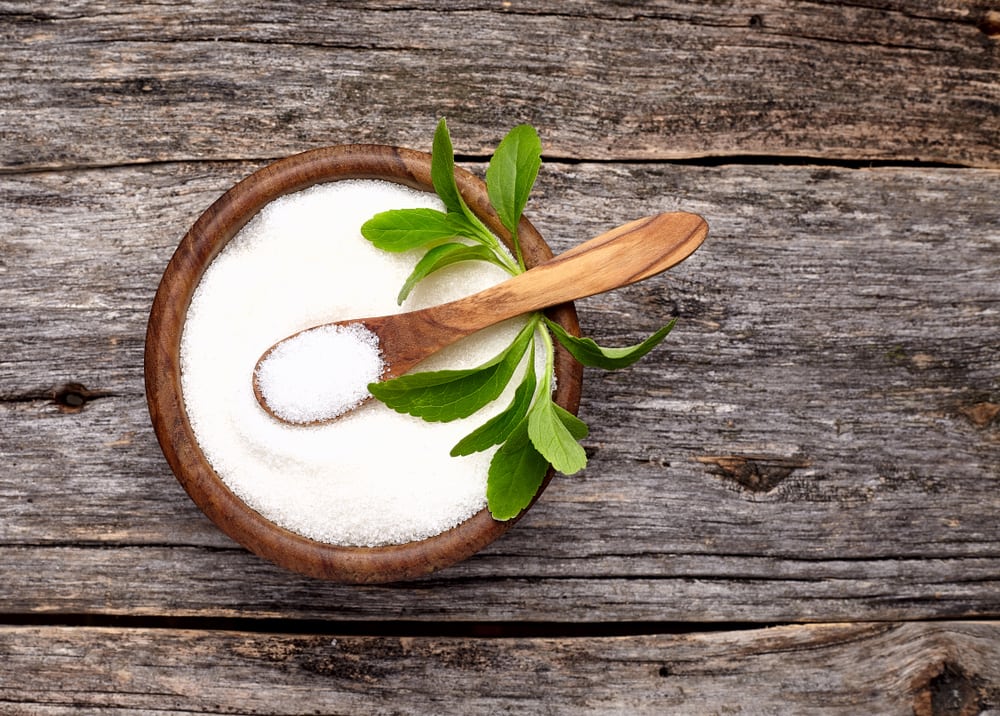
We encourage you to use liquid stevia since it’s easier to blend, but some people prefer using the powdered form. If you use powdered stevia instead of liquid, use one packet per ¼ teaspoon of liquid stevia.
It might take a little longer to reach a smooth texture if you use powdered stevia, so make sure to check the consistency before you finish blending, unless you want a grainy creamer.
Unflavored vs. Flavored Stevia
If our recipe has too much vanilla flavor for your taste, try using unflavored stevia instead of vanilla stevia. Vanilla extract is quite potent and might provide enough flavor for you, making flavored stevia unnecessary. You could also try a mixture of vanilla and regular stevia for a slightly less robust flavor.
We experimented with other flavors and, unfortunately, found that none worked as well as vanilla. We suspect that the vanilla extract does most of the work, and the vanilla stevia only contributes a small amount to the overall taste. If your goal is to replicate traditional creamer as closely as possible, go with vanilla; it’s the closest to the dairy version as you can get.
Milk Alternatives
There are tons of non-dairy milk options these days, so feel free to try your favorite. Oat milk, almond milk, and other nut-based milk work well and taste great, but none produce the same frothy texture that you can get from coconut cream or coconut milk. You need a high-fat content to get the thick, creamy mouthfeel people love about coffee creamer, and—so far—we’ve only found coconut milk to be up to the task.
Conclusion
Making your own coffee creamer at home is surprisingly easy. All it takes is a blender, a few ingredients, and about 5 minutes. This recipe makes our favorite keto and vegan-friendly coffee creamer, but we encourage you to explore other options and possibly find a variation that you like better. We think that coconut milk offers the best texture you can get from non-dairy milk, and that vanilla is the best flavor to use, but your taste buds might not agree! Hopefully, this recipe serves as a jumping-off point and inspiration to craft your coffee creamer.
Featured Image Credit: Pixabay


