Pour-over coffee is clear and complex, so it’s not surprising that it’s a popular brewing method. But getting it right takes a little more effort than using a pod machine or drip brewer. Whether you’re new to this method or just looking to perfect your technique, we can help!
We’ve put together this guide to walk you through all things pour-over. What is pour-over coffee and how do you make it? By the end of this guide, you will be a pour-over expert, capable of brewing the perfect cup or carafe.
What Is Pour-Over Coffee?
Pour-over coffee is made using a special pour-over brewer. Sometimes called hand drip coffee, this is paper-filtered coffee, meaning that it’s clean and clear, without any fine coffee grounds or natural oils. The pour-over method goes well with single-origin and light to medium roast beans. It showcases the unique flavors and aromas of the beans, so it’s a great way to sample unusual beans. Experience the floral complexity of an Ethiopian bean or the earthy depth of a Sumatran variety!
Choosing Pour-Over Coffee Beans
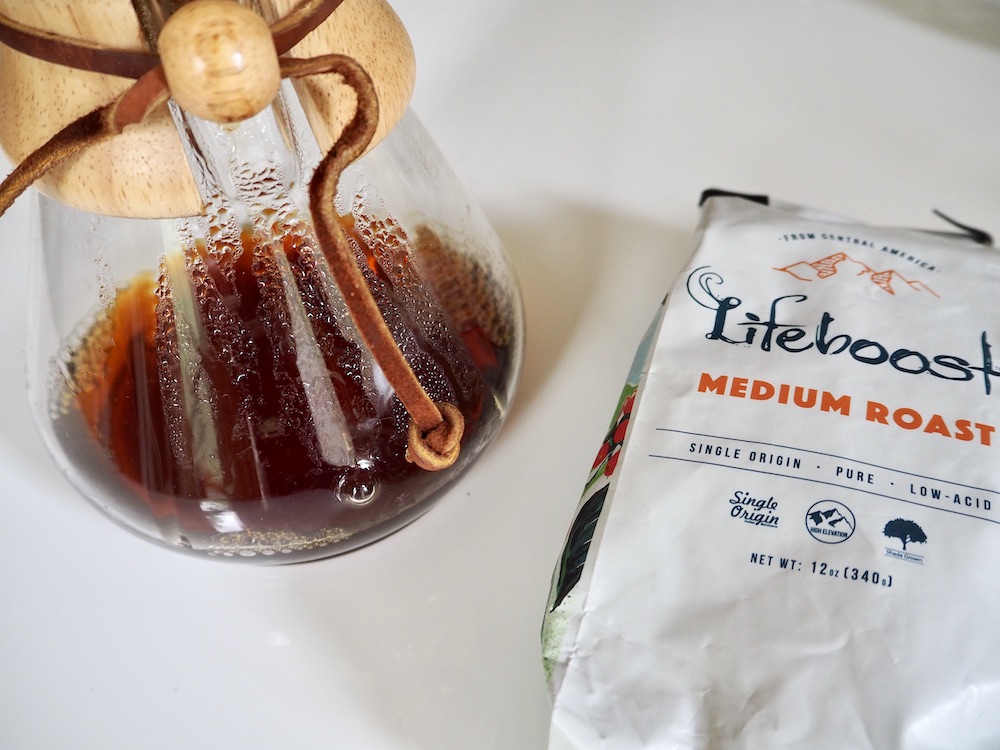
Looking for the best beans for pour-over? Read about our favorite coffee beans for pour-over brewers. We also recommend Lifeboost’s medium roast coffee, which is low-acid and grown at high altitudes in Nicaragua. It tastes especially delicious in pour-over form! Best of all, you can get 50% off your first order.
What Equipment Do You Need to Make Pour Over Coffee?
The pour-over method is pretty straightforward, but you will need some special equipment. Here are the tools you’ll need (or want) to brew a delicious cup of pour-over coffee:
Pour-Over Coffee Makers

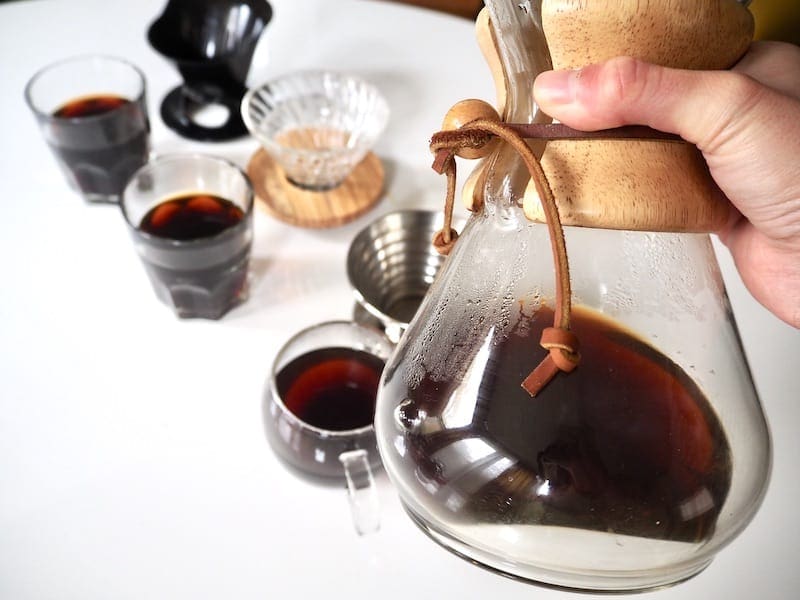
There are many types of pour-over coffee makers, and they all produce slightly different coffee. Some of our favorite brands include the Chemex, the Hario V60, and the Kalita Wave. You can also opt for the basic Melitta pour-over, which is very inexpensive and often available in grocery stores.
Need a pour-over coffee maker? Read our reviews of the 10 best models!
Paper Filters
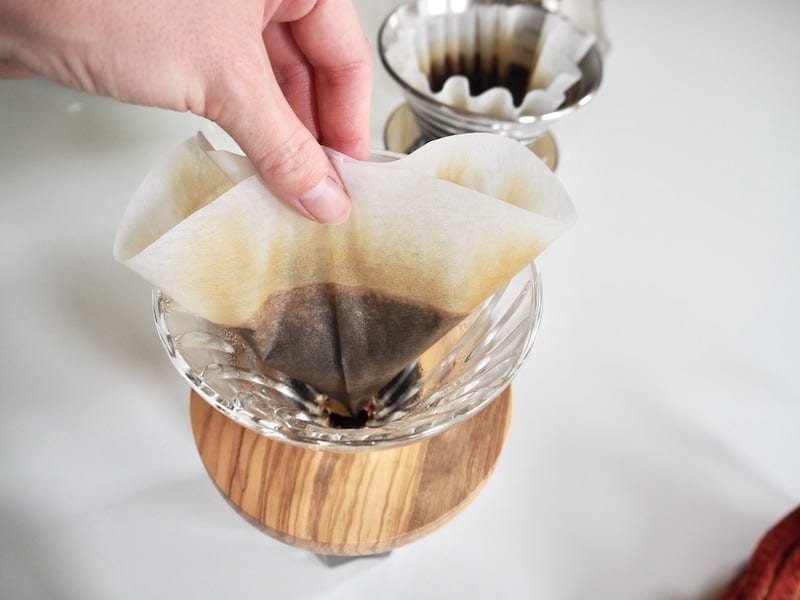
All pour-overs require some kind of filter. Typically, you’ll need a paper filter. The exact design of these filters depends on which brand of pour-over you choose because each brand has its own specially designed filters.
The Chemex uses thick folded paper filters, while the Hario V60 and Kalita Wave use much thinner paper filters. If you opt for a basic pour-over, you can use #1 through #4 paper filters.
Gooseneck Kettles

Though not strictly required to make pour-over coffee, gooseneck kettles are highly recommended. If you want to perfect your technique, they’re absolutely essential! Why? Gooseneck kettles have long, skinny spouts that allow you to fully control the water flow. This lets you pour in careful circles, evenly distributing the water and producing the best possible extraction and flavor.
What’s the best temperature for pour-over coffee? Between 195° and 205° Fahrenheit. If you don’t have a thermometer, let your water boil and then leave it to cool for 30 seconds.
Need a gooseneck kettle? Choose from our 10 favorites or read our review of the Hario Buono.
Coffee Scales
Another tool that isn’t required but will seriously improve your brew is the coffee scale. Doing your entire pour-over brewing process on a scale will let you control the exact coffee to water ratio. You’ll be able to pour just the right amount of water in to produce a coffee bloom and then a full cup of perfectly brewed coffee.
Need a coffee scale? Read our list of the 10 best models available this year!
Burr Coffee Grinders

If you’re a true coffee lover, you’re probably aware that you should grind your beans just before brewing. Coffee starts losing flavor just minutes after it’s ground, so for the best flavor, you should grind only the amount you need. Grind consistency is key to getting great flavor, and burr coffee grinders produce the most consistent grinds.
That’s why you’ll want a good burr grinder for pour-over brewing. This can be electric or manual, as long as it produces an even grind!
Need a burr grinder? Read our reviews of 10 great options, or see what we thought of the Hario Skerton Pro, a grinder designed for pour-overs!
Pour-Over Coffee Ratio
The basic pour-over coffee to water ratio is 1:17, meaning one part coffee to 17 parts water. If you’re brewing a 12-ounce cup of coffee, that’s 0.7 ounces of ground coffee.
If the flavor isn’t quite right, you can adjust this ratio to your preferences. You may prefer a stronger cup of coffee, using a ratio like 1:15, or 0.8 ounces of coffee for 12 ounces of water.
NOTE: Try our coffee to water ratio calculator!
How to Make Pour-Over Coffee:
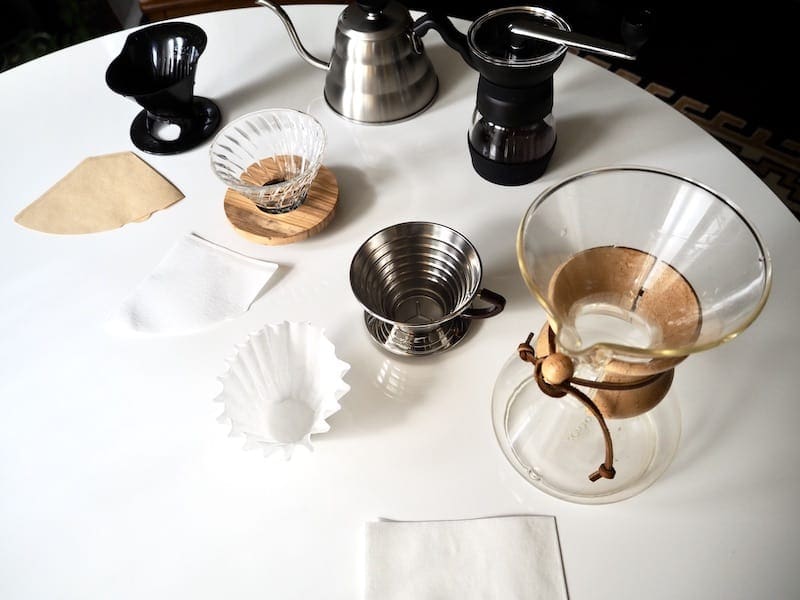
Now that you have all the necessary equipment, it’s time to start brewing! To show you the steps, we’re using the Chemex, the Hario V60, the Kalita Wave, and the Melitta pour-over. No matter what equipment you have, you can learn how to brew like a pro! Here’s our guide to brewing perfect pour-over coffee:
- Fresh coffee beans (We recommend Lifeboost’s tasty medium roast)
- Water
- Pour-over coffee maker (Chemex, V60, Kalita Wave, or Melitta)
- Paper filter
- Coffee cup
- Kettle (preferably gooseneck)
- Coffee scale (optional)
- Timer (optional)
1. Grind your coffee beans.
Using a burr grinder, grind your beans to about the consistency of sea salt. You’ll want a coffee to water ratio of around 1:17, so use 0.7 ounces of coffee for every 12-ounce cup.
2. Rinse your filter.
Pour a little water onto your filter and let it drain out. This will remove any papery flavor from your coffee. Discard the water.
3. Set up your pour-over.
If you’re using a Chemex, just place your paper filter in the top section. The side with multiple layers should be on the carafe’s spout. If you’re using a V60, Kalita Wave, or Melitta, place the brewer on a coffee cup and add the filter. And if you’re using a scale, place everything on top of it and then hit the tare button.
4. Add the ground coffee.
Pour the coffee grounds into the paper filter. Lightly tap the sides to make sure the grounds are flat and not mounded in the middle.
5. Bring water to a boil.
Using a gooseneck kettle if you have one, bring water to a boil. Then let it sit for a minute or two. This will let it cool down to the best temperature for pour-over coffee, which is between 195 and 205° Fahrenheit.
6. Let the coffee bloom.
Time to start brewing! If you’re using a timer, start it now. Slowly pour water in a circle over the grounds, starting at the outer edge and moving inward. You want to wet the entire bed of grounds, and the pour should take around 15 seconds. Your scale should now be at around 2 ounces.
Once you’ve saturated the coffee grounds, let them sit for 30 seconds. You should see the beans blooming!
7. Pour in another round of water.
Now it’s time to start pouring in earnest. Starting in the center, pour water in circles over the grounds. You’ll want to add about 3 more ounces of water in around a minute.
8. Continue pouring in water until your cup is full.
Continue this process until you’ve brewed as much coffee as you want.
9. Discard the filter and enjoy your coffee!
Once your coffee is finished, you can throw away (or compost) your paper filter and grounds. Enjoy your delicious, aromatic pour-over coffee!

How to Make Pour-Over Coffee:
Equipment
- Pour-over coffee maker (Chemex, V60, Kalita Wave, or Melitta)
- Paper filter
- Coffee cup
- Kettle (preferably gooseneck)
- Coffee scale (optional)
- Timer (optional)
Ingredients
- Fresh coffee beans
- Water
Instructions
Grind your coffee beans.
- Using a burr grinder, grind your beans to about the consistency of sea salt. You’ll want a coffee to water ratio of around 1:17, so use 0.7 ounces of coffee for every 12-ounce cup.
Rinse your filter.
- Pour a little water onto your filter and let it drain out. This will remove any papery flavor from your coffee. Discard the water.
Set up your pour-over.
- If you’re using a Chemex, just place your paper filter in the top section. The side with multiple layers should be on the carafe’s spout. If you’re using a V60, Kalita Wave, or Melitta, place the brewer on a coffee cup and add the filter. And if you’re using a scale, place everything on top of it and then hit the tare button.
Add the ground coffee.
- Pour the coffee grounds into the paper filter. Lightly tap the sides to make sure the grounds are flat and not mounded in the middle.
Bring water to a boil.
- Using a gooseneck kettle if you have one, bring water to a boil. Then let it sit for a minute or two. This will let it cool down to the best temperature for pour-over coffee, which is between 195 and 205° Fahrenheit.
Let the coffee bloom.
- Time to start brewing! If you’re using a timer, start it now. Slowly pour water in a circle over the grounds, starting at the outer edge and moving inward. You want to wet the entire bed of grounds, and the pour should take around 15 seconds. Your scale should now be at around 2 ounces.
- Once you’ve saturated the coffee grounds, let them sit for 30 seconds. You should see the beans blooming!
Pour in another round of water.
- Now it’s time to start pouring in earnest. Starting in the center, pour water in circles over the grounds. You’ll want to add about 3 more ounces of water in around a minute.
- Continue pouring in water until your cup is full.
- Continue this process until you’ve brewed as much coffee as you want.
Discard the filter and enjoy your coffee!
- Once your coffee is finished, you can throw away (or compost) your paper filter and grounds. Enjoy your delicious, aromatic pour-over coffee!
Nutrition
Want to know more about these pour-over brewers?


