
Clean Your Keurig Regularly

The first thing to do when you find your Keurig running slow is to ask yourself when was the last time you cleaned it. Regular cleaning is the best way to keep your Keurig running like new and prevent unnecessary slowdowns. Since only water flows through a Keurig internally, checking for a clog and cleaning it are both easy. Here are some steps to quickly check for a blockage.
1. Power off your Keurig
This is a good precaution to take before you go digging around in the machine. You don’t want boiling water to start spewing from the brewer suddenly while you’re working.
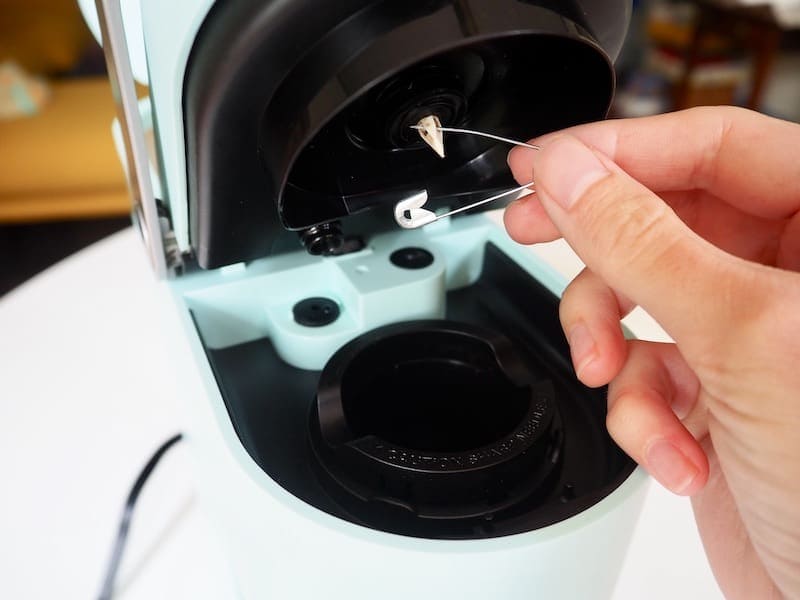
2. Open the lid and locate the needle
All Keurigs have a needle that punctures the K-cup so that water can flow freely through the coffee. This needle can clog with regular use, and if you don’t clean it out occasionally, your Keurig will slow down to a crawl.
Open the lid on your Keurig and look for the thin needle-shaped structure. Be careful! Inside this part is a very thin, sharp needle that will give you a nasty poke if you’re not careful.
3. Grab a paper clip, thin pipe cleaner, or sewing needle
You need a small, narrow tool to clean out the needle section and remove any blockages that might be causing your Keurig to run slowly. There’s nothing fancy to do here; simply dig around with your implement of choice. You’ll likely find some dried coffee gunk lodged around the needle.
SEE ALSO: Everything You Need to Know About Keurig Needle Maintenance
4. Turn your machine back on and give it a test
If you removed any dried coffee from the machine, you might already have fixed the problem. If not, you might have to try descaling your Keurig.
Descale your Keurig
If the quick Keurig cleaning didn’t work, you might have some calcium deposits inside your machine clogging the water lines. These calcium deposits are usually called scale and are not difficult to remove. Keurig makes their descaling solution for use in their machines. Here are the basic Keurig descaling steps:
1. Empty the water reservoir
Start by emptying any water currently in the water reservoir.
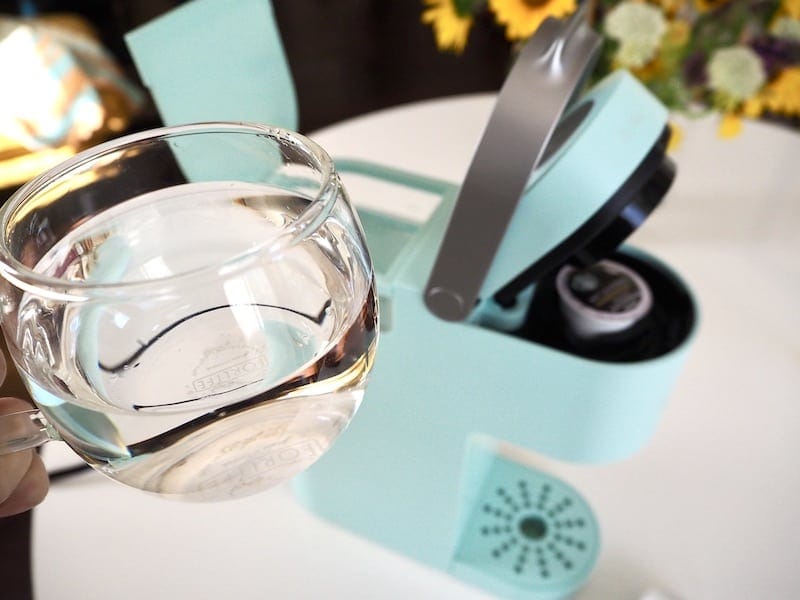
2. Pour the descaling solution into the reservoir
Empty the entire bottle of descaling solution into the reservoir. Fill the empty bottle with water and pour it into the reservoir as well.
3. Run a cleaning brew cycle
Run your Keurig. Most Keurigs have a cleaning button that runs the descaling cycle. Keep running the cleaning cycle until the “add water” light comes on. It usually takes a few cycles.
4. Let the machine sit for 30 minutes
5. Brew with water 10-12 times
Before you use your Keurig to brew coffee again, you have to rinse the machine thoroughly. We recommend running 10-12 brew cycles with just water before using your Keurig for coffee. This removes any lingering descaling solution, which could make your coffee taste strange.

What if my Keurig is still slow?
If you clean the needle area and descale your machine and it still brews slowly, unfortunately, you’ll probably have to contact Keurig and determine how to replace the machine. Keurigs are designed to be hands-off machines and aren’t meant to be maintained by the consumer. When they work, it’s a great design, but it can be a pain when something goes wrong.
We’ve heard mixed messages concerning Keurigs replacement policy. Some people report excellent customer service that walked them through fixing their problem, while others wound up paying for a new machine. It’s worth a shot since sometimes a slow Keurig can be fixed by replacing a relatively inexpensive part.
Keurig Running Slow: The Bottom Line
Hopefully, you’ve found this guide helpful. When your Keurig is running slow, you need a good solution. Cleaning and descaling your Keurig will fix a slow brew cycle most of the time, so it’s worth the minimal effort to try both before taking more drastic steps. Unfortunately, sometimes the water pump is the culprit and will need to be replaced. If this is the case with your machine, it can be more cost-effective simply to replace the entire machine.
Keurigs are notably reliable machines, and we’ve never had one of our machines break, even with heavy use. The most likely cause of a slow Keurig is a clog or calcium buildup, both of which are easy to fix yourself.
More Keurig troubleshooting guides:


